
Masterbuilt Turkey Fryer Manual PDF: A Comprehensive Guide
Discover essential guidance for your Masterbuilt fryer, including safety, operation, and troubleshooting—downloadable PDF instructions are readily available for various models!
Understanding Your Masterbuilt Turkey Fryer
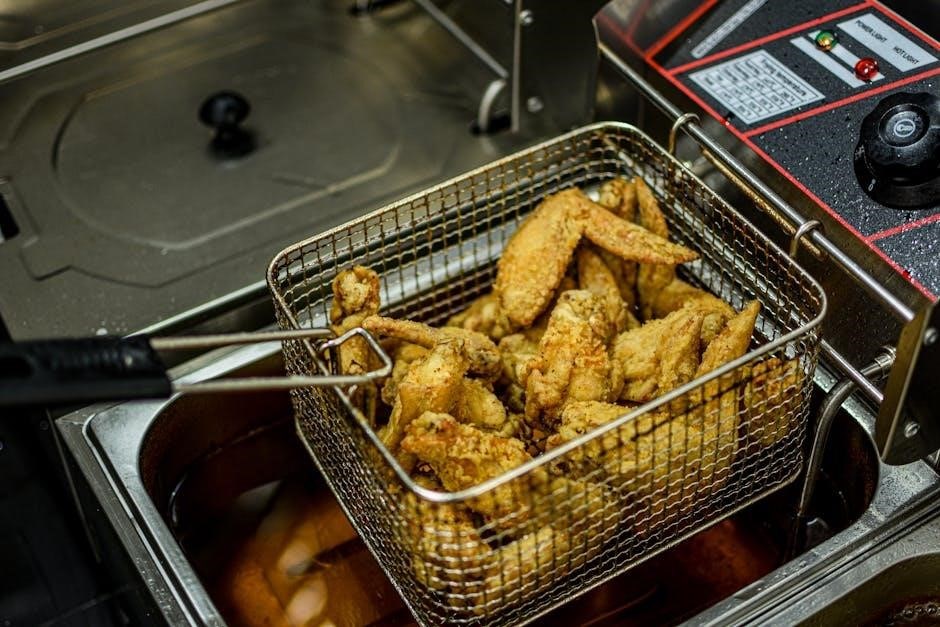
Your Masterbuilt Turkey Fryer is a powerful appliance designed for quickly and safely cooking a turkey; Familiarizing yourself with its components – the pot, burner, stand, and safety features – is crucial before first use. These fryers utilize propane gas to heat cooking oil to a precise temperature, ensuring crispy skin and juicy meat.
Different models exist, ranging in capacity and features; therefore, accessing the specific manual for your fryer (identified by its model number) is paramount. The manual details assembly instructions, recommended oil volumes, and vital safety precautions. Understanding these aspects will guarantee a successful and enjoyable frying experience, delivering a delicious centerpiece for your gatherings.

Safety First: Essential Precautions
Prioritize safety! Always fry outdoors, away from structures, and keep children and pets at a safe distance during operation and cool-down.
Oil Level and Fill Guidelines
Determining the correct oil level is paramount for safe and efficient turkey frying. Before heating, perform a “water test” – fully submerge the turkey in the fryer basket within the pot, then fill with water to cover it by several inches.
Remove the turkey and carefully dry the pot completely. The water mark indicates the maximum safe oil fill level. Never exceed this level, as it can cause dangerous oil overflow when the turkey is added.
Always use an oil with a high smoke point, like peanut or canola oil. Ensure the turkey is completely thawed and dry before frying to prevent violent reactions with hot oil. Accurate oil levels are crucial for consistent results and, most importantly, safety.
Proper Fryer Placement & Stability
Selecting a suitable location is critical for safe operation. Position your Masterbuilt turkey fryer on a flat, level, non-combustible surface – concrete or packed earth are ideal. Never operate the fryer on wooden decks, patios, or near flammable materials.
Ensure ample clearance around the fryer, keeping children and pets at a safe distance. Verify the fryer is stable and won’t tip over during operation. A slight breeze can affect stability, so consider wind direction.
Inspect the legs and base for any damage before each use. A wobbly fryer presents a significant hazard; do not use it until it’s stable and secure.
Electrical Safety Considerations
Always ensure your Masterbuilt turkey fryer is properly grounded to prevent electric shock. Use a dedicated, grounded outlet capable of handling the fryer’s wattage – avoid extension cords if possible.
If an extension cord is necessary, it must be heavy-duty, outdoor-rated, and of the correct amperage. Never operate the fryer in wet conditions or near water sources. Inspect the power cord for damage before each use; a frayed cord is a serious hazard.
Avoid overloading the circuit with other appliances. Disconnect the fryer from the power source when not in use and before cleaning.
Preparing for Your First Fry
Thoroughly thaw, season, and brine your turkey for optimal results; selecting the correct frying oil is also crucial for a safe and delicious outcome.
Turkey Thawing: Crucial Steps
Proper thawing is paramount for safe and even frying. Never thaw a turkey at room temperature! The safest method involves submerging the frozen turkey in cold water, changing the water every 30 minutes. Alternatively, thaw in the refrigerator – allow approximately 24 hours for every 4-5 pounds of turkey.
Ensure the turkey is completely thawed before frying; ice crystals can cause dangerous oil splattering. A fully thawed turkey will have a flexible neck and legs. Thorough thawing guarantees consistent cooking and prevents potential hazards during the frying process. Always verify internal temperature before proceeding.
Seasoning and Brining Your Turkey
Enhance flavor and moisture by seasoning or brining your turkey before frying. Brining involves submerging the turkey in a saltwater solution for 12-24 hours, resulting in a juicier final product. Dry brining, using a salt and spice rub, is another effective method.
Season generously with your favorite herbs and spices, ensuring even coverage. Pat the turkey dry before frying to promote crispy skin and minimize oil splattering. Remember to rinse thoroughly after brining and completely dry the turkey before proceeding with the frying process for optimal results.
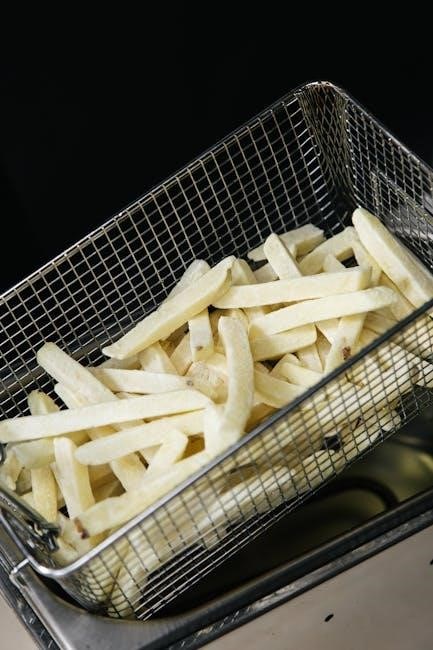
Choosing the Right Frying Oil
Select an oil with a high smoke point, such as peanut, canola, or vegetable oil, suitable for deep frying. Peanut oil is often preferred for its flavor and high smoke point, but consider allergies. Ensure the oil is 100% oil, without additives.
Calculate the amount of oil needed before starting; a sufficient quantity is crucial for safe and even cooking. Never mix different types of oil. Always use fresh, clean oil for each frying session to avoid off-flavors and ensure optimal frying performance. Discard used oil responsibly.
Operating Your Masterbuilt Turkey Fryer
Carefully assemble components, heat oil to the correct temperature, and safely lower/raise the turkey—follow the manual for optimal results and safety!
Assembling the Fryer Components
Before your first use, thoroughly review the Masterbuilt Turkey Fryer manual’s assembly diagrams. Ensure all parts are present and undamaged. Begin by securely attaching the fryer legs to the pot, verifying stability. Next, connect the control panel and burner assembly, carefully aligning all connections. Double-check the gas line connections for leaks using a soapy water solution – never use a flame!
Properly install the thermometer and safety hook, crucial for monitoring temperature and safely lifting the turkey. Confirm the pot is level before proceeding. Refer to your specific model’s PDF manual for detailed illustrations and component-specific instructions; Incorrect assembly can compromise safety and performance.
Heating the Oil to the Correct Temperature
Consult your Masterbuilt Turkey Fryer manual’s PDF for the recommended oil temperature – typically around 350°F (177°C). Slowly heat the oil using the burner, constantly monitoring the thermometer. Avoid rapid heating, as this can cause splattering and potential hazards. Use a long-stemmed thermometer for accurate readings, ensuring it doesn’t touch the pot’s bottom.
Be patient; heating can take considerable time. Never leave the fryer unattended during this process. The manual will detail specific heating times based on oil volume and ambient temperature. Maintaining the correct temperature is vital for safe and evenly cooked results.
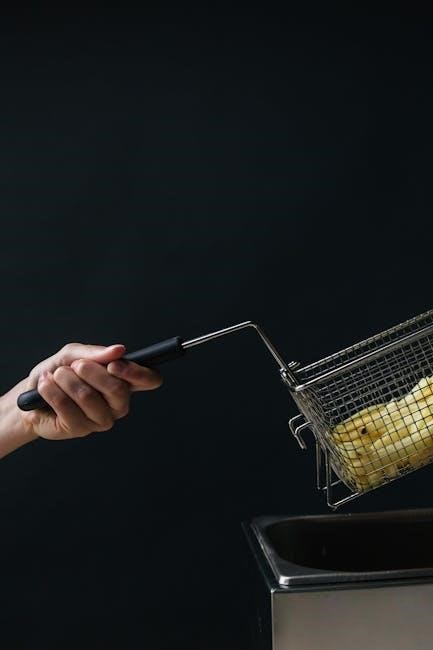
Lowering and Raising the Turkey Safely
Refer to your Masterbuilt Turkey Fryer’s PDF manual for detailed instructions on safely lowering and raising the turkey. Always wear oven mitts and eye protection. Slowly and carefully lower the completely thawed and dry turkey into the hot oil using the provided lifting hook or basket.
Lower it gradually to prevent oil splattering. When finished, raise the turkey slowly, allowing excess oil to drain. Never jerk or rush this process. The manual emphasizes caution and provides specific guidance on hook attachment and lifting techniques for different fryer models.
Monitoring the Frying Process
Maintain precise temperature control using the fryer’s thermometer, and consult the PDF manual for accurate fry times based on the turkey’s weight.
Temperature Control and Maintenance
Consistent oil temperature is paramount for safe and evenly cooked results. Your Masterbuilt fryer’s manual PDF details the ideal frying temperature, typically around 350°F (177°C). Utilize the built-in thermometer to closely monitor the oil, adjusting the burner as needed to maintain this range.
Regular temperature checks prevent overheating and potential hazards. The manual emphasizes avoiding significant temperature fluctuations. After each use, allow the oil to cool completely before handling. Proper maintenance, as outlined in the PDF, extends the life of your fryer and ensures optimal performance for years to come. Always refer to the manual for specific model instructions.
Fry Time Calculation Based on Weight
Accurate fry time is crucial for a safely cooked turkey. Your Masterbuilt turkey fryer manual PDF provides a guideline of approximately 3-4 minutes per pound (450-600 grams) for an 8-12 pound bird. However, this is an estimate; always verify internal temperature.
Larger turkeys may require slightly longer cooking times. The manual stresses the importance of not overcrowding the oil. Refer to the chart within the PDF for specific weight ranges and corresponding fry times. Never rely solely on time; a meat thermometer is essential to confirm the turkey has reached a safe internal temperature of 165°F (74°C).
Checking for Doneness: Internal Temperature
Confirming a safe internal temperature is paramount. Your Masterbuilt turkey fryer manual PDF emphasizes using a meat thermometer inserted into the thickest part of the thigh, avoiding the bone. The USDA recommends a minimum internal temperature of 165°F (74°C) to ensure the turkey is fully cooked and safe for consumption.
Check multiple spots within the thigh to guarantee even cooking. The manual cautions against relying on color alone. Always prioritize temperature readings. A properly cooked turkey will have juicy, flavorful meat and eliminate the risk of foodborne illness. Refer to the manual’s diagrams for optimal thermometer placement.
Post-Fry Procedures & Cleanup
Safely cool the oil, dispose of it responsibly, and thoroughly clean and store your Masterbuilt fryer according to the manual’s detailed instructions.
Cooling Down the Oil Properly
Allowing the frying oil to cool completely before handling is paramount for safety. The Masterbuilt manual emphasizes never attempting to move the fryer while the oil is hot. A prolonged cooling period, often several hours, is necessary.
Avoid rapid cooling methods like adding water, as this can cause dangerous splattering and potential burns. The manual likely advises leaving the fryer undisturbed in a safe, outdoor location during this process.
Once cooled, carefully assess the oil’s condition before considering disposal. Proper cooling minimizes risks and ensures a safe cleanup process, as detailed within your specific model’s PDF guide.
Safe Oil Disposal Methods
Proper disposal of used frying oil is crucial for environmental responsibility and preventing plumbing issues. The Masterbuilt manual strongly discourages pouring oil down drains. Instead, allow the oil to cool completely, then carefully pour it into a sealed, leak-proof container – a plastic jug works well.
Check with your local waste management services for designated oil recycling locations or collection events. Some communities offer specific programs for used cooking oil. Never dispose of oil with regular household trash without proper containment.
Refer to your model’s PDF manual for any specific disposal recommendations from Masterbuilt.
Cleaning and Storing Your Fryer
Thorough cleaning after each use extends the life of your Masterbuilt turkey fryer. Once cooled, remove all components and wash them with warm, soapy water. Avoid abrasive cleaners that could damage the surfaces. Pay close attention to the pot, basket, and burner assembly.
Ensure all parts are completely dry before reassembling. Store the fryer in a cool, dry location, protected from the elements. The PDF manual may offer specific storage instructions for your model. Proper storage prevents rust and ensures it’s ready for the next use!
Troubleshooting Common Issues
Resolve fryer problems quickly! The manual PDF details solutions for heating failures, overheating, uneven cooking, and other issues for optimal performance.
Fryer Not Heating Up
If your Masterbuilt turkey fryer isn’t heating, consult the manual’s troubleshooting section immediately. First, verify the power cord is securely connected to a functioning outlet. Check the circuit breaker or fuse box to ensure it hasn’t tripped or blown. The PDF manual details how to test the heating element for continuity using a multimeter – a crucial safety step.
Also, examine the thermostat; a faulty thermostat can prevent the element from receiving power. The manual provides diagrams illustrating thermostat location and testing procedures. If these checks don’t resolve the issue, the heating element itself may be defective and require replacement, referencing specific part numbers within the PDF.
Oil Overheating or Splattering
Excessive oil overheating or splattering during turkey frying presents a significant safety hazard. Your Masterbuilt fryer’s manual PDF emphasizes the critical importance of maintaining the correct oil temperature (typically 350°F). Overheating can occur if the thermostat malfunctions or if too much oil is used. Splattering is often caused by moisture remaining on the turkey – ensure it’s thoroughly dried.
The manual details proper oil level determination and provides guidance on safely lowering the turkey into the hot oil. Never leave the fryer unattended. If splattering persists, immediately turn off the fryer and allow the oil to cool completely before investigating. Consult the PDF for specific safety precautions and troubleshooting steps.
Turkey Not Cooking Evenly
Uneven cooking can occur when frying a turkey, and your Masterbuilt fryer manual PDF offers solutions. The manual stresses the importance of a fully thawed turkey, as ice pockets impede even heat distribution. Ensure the turkey is completely submerged in oil throughout the frying process; insufficient oil coverage leads to uneven results.
The PDF also details proper fry time calculations based on the turkey’s weight. Regularly check the internal temperature in multiple locations (thigh, breast) using a meat thermometer to verify doneness. Rotating the turkey during frying can also promote more uniform cooking. Refer to the manual for specific guidance and troubleshooting tips.
Masterbuilt Model Specific Information
Locate your fryer’s model number for tailored PDF manuals, offering precise instructions and diagrams for optimal performance and safe operation.
Identifying Your Fryer Model Number
Finding your Masterbuilt Turkey Fryer’s model number is crucial for accessing the correct PDF manual and specific support resources. This unique identifier allows you to download instructions tailored to your exact unit, ensuring safe and efficient operation. Typically, the model number is located on a sticker or plate affixed to the fryer itself.
Check the base of the unit, the inside of the lid, or near the control panel. It’s usually a combination of letters and numbers (e.g., 10040607 14). Having this number readily available streamlines the process of finding troubleshooting tips, parts diagrams, and warranty information on the Masterbuilt website. Accurate identification guarantees you’re using the right guide!
Accessing Specific Model Manuals (PDF Download)
Once you’ve identified your Masterbuilt Turkey Fryer’s model number, obtaining the corresponding PDF manual is straightforward. Visit the official Masterbuilt website and navigate to their support or manuals section. Enter your model number into the search bar to locate the correct document.
You can then download the PDF file directly to your computer or mobile device for easy access. These manuals contain detailed instructions, safety precautions, parts lists, and troubleshooting guides specific to your fryer model (like 10040607 14). Having a digital copy ensures you always have the information you need at your fingertips!
Warranty Information & Support
Masterbuilt provides warranty details for your fryer, and customer service is available for assistance with manuals, parts, or operational questions—explore their website!
Masterbuilt Warranty Details
Masterbuilt stands behind the quality of its turkey fryers with a comprehensive warranty program designed to provide peace of mind. Specific warranty durations vary depending on the model and component, but generally cover defects in materials and workmanship. The warranty typically excludes normal wear and tear, misuse, or accidental damage.
To initiate a warranty claim, retain your proof of purchase and contact Masterbuilt customer service. They will guide you through the process, which may involve submitting photos or returning the defective part. Detailed warranty information, including specific terms and conditions, can be found within the product manual or on the official Masterbuilt website. Registering your fryer online can also streamline the warranty process.
Contacting Masterbuilt Customer Service
For assistance with your Masterbuilt turkey fryer, or to access PDF manuals, their customer service team is readily available. You can reach them through multiple channels, including a dedicated phone line for immediate support. Alternatively, utilize their comprehensive online support portal, featuring FAQs, troubleshooting guides, and downloadable resources like the fryer manual.
Email support is also offered for less urgent inquiries. Visit the official Masterbuilt website to find the most up-to-date contact information and operating hours. When contacting support, have your model number and proof of purchase readily available to expedite the assistance process. Their team is equipped to address warranty claims and technical issues.